I love recycling. I try to reuse everything I can, keep re-purposing materials over and over again until they are gone. My conversion of a used bourbon barrel into a meat smoker is an example of this compulsion. This post is about where some (not all) of my spent grain goes from all the batches of beer I make. The majority of my spent grain ends up in my compost bin, where it is slowly broken down into dirt for use in my various gardens, but every few batches I scoop several cups of grain out of the mash tun post sparge and make flour with it.
Making spent grain flour is pretty easy. If you are an all grain brewer, you have a lot of spent grain. A typical brew day for me consumes about 10 pounds of grain. The majority of the starch is converted to simple sugars during the mash but there is still a lot of high fiber material in the husks and body of the malt in the mash. There are several ways to use this grain, I already mentioned I compost almost all of it. If I had chickens or other live stock, I would feed it to them as part of their diet…unfortunately I do not (yet) own any livestock…so I have to settle for some spent grain flour. I am not taking credit for this idea. I’ve heard of people doing this with their homebrew and there are also professional breweries that bother to make some spent grain flour and products. The “Spent Grain Chef” has a list of recipes that utilize spent grain flour and Gravity 1020 is a restaurant that gets grain from Fort Collins Brewery. I am writing this post as a foundation for some upcoming posts on bread making where I use beer organisms to make various sour doughs. The spent grain flour plays a role in those upcoming posts. There are other ways to use spent grain in bread making that don’t involve grinding it down to flour. I’ve made breads that just utilize the grains in the same capacity oats might be used in some recipes. This is about making flour though.
Once the mash is over, there are three basic steps to making spent grain flour (the way I do it at least):
- Drive off as much liquid as possible (really important)
- Dry the spent grain in the oven at as low a temperature as possible (the lower the better)
- Grind dried grain into flour using whatever tool you have at your disposal (the finer the better)
I brew in the morning so my mash is usually done around 9 or 9:30 AM. This is convenient as drying the grain takes several hours.
Step 1: Drive off as much liquid as possible.
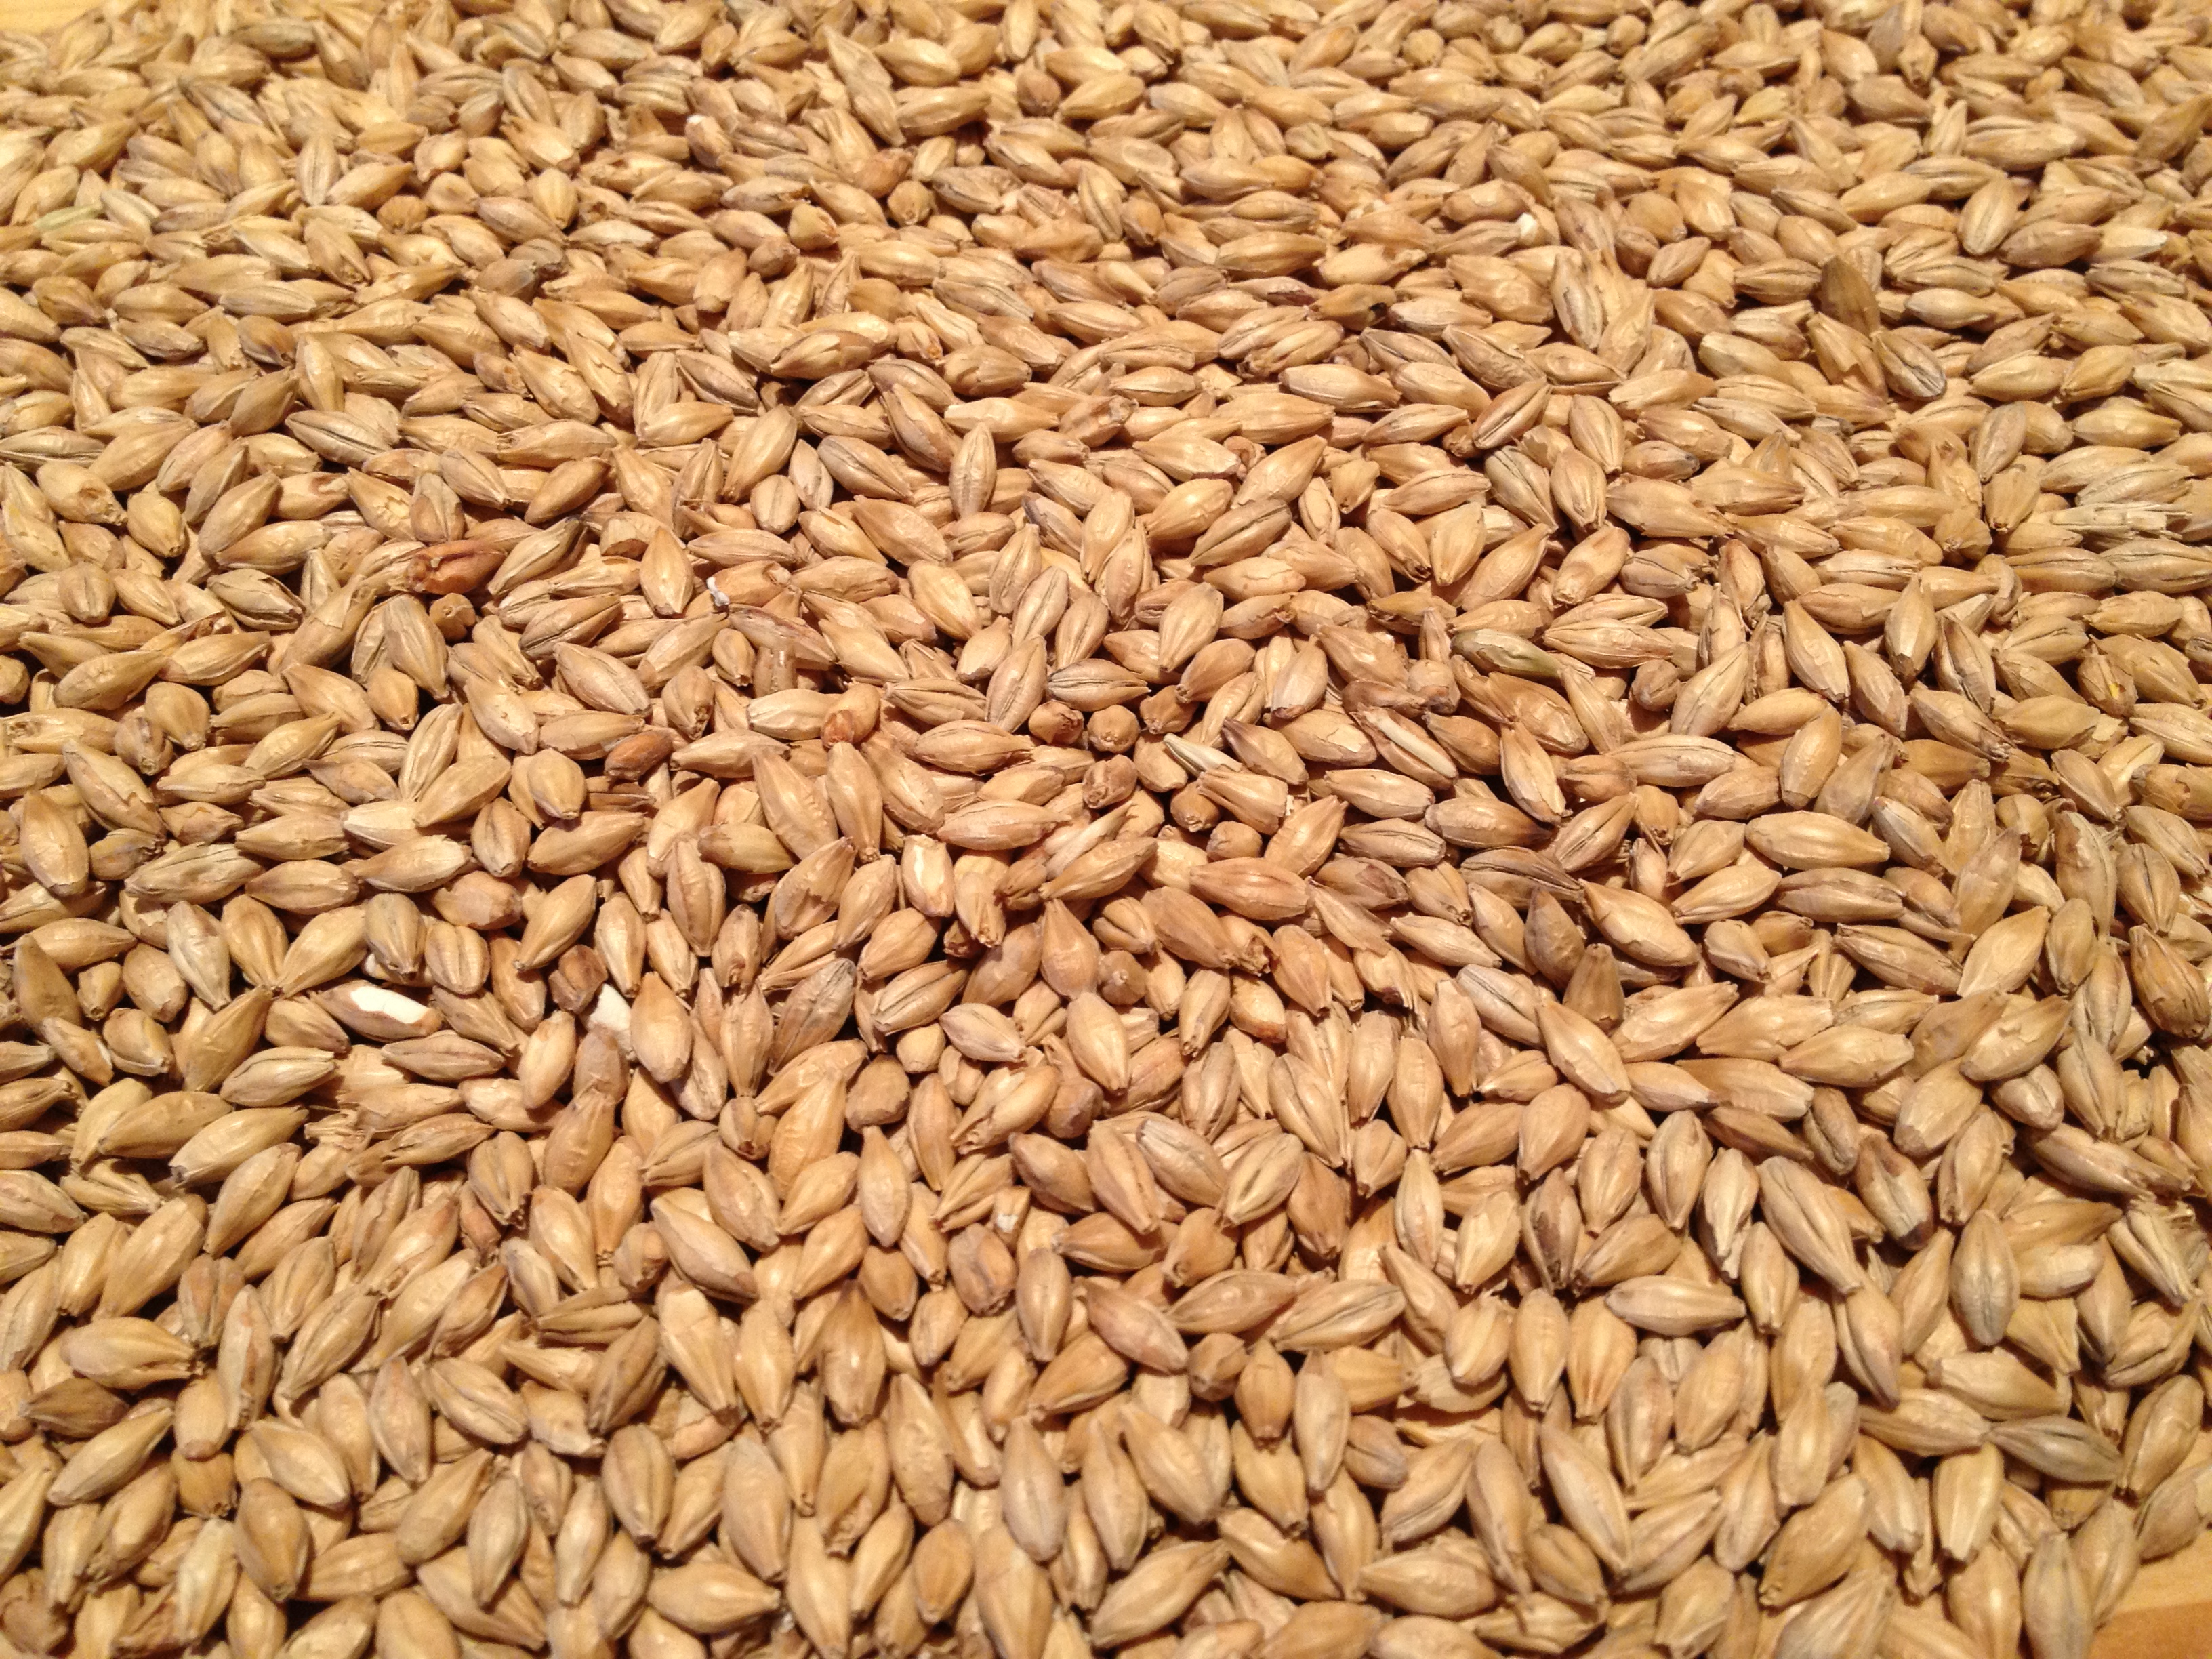
The grain coming out of the mash tun retains a lot of liquid. The more liquid soaked into the grain, the longer it will take to dry it completely…so the longer in the oven using energy and risking burning. I used a strainer (colander) that is just a wire mesh bowl…basically designed for this purpose.
I put all the grain in the strainer and use a potato masher to push on the grain (while over a clean bowl or in the sink). I turn the grain several times while in the bowl and doing this to increase the likelihood all the grain will be against the mesh surface. Once I’m done with this I will often leave the grain sitting in the strainer for about an hour to let any additional liquid drip away through gravity.

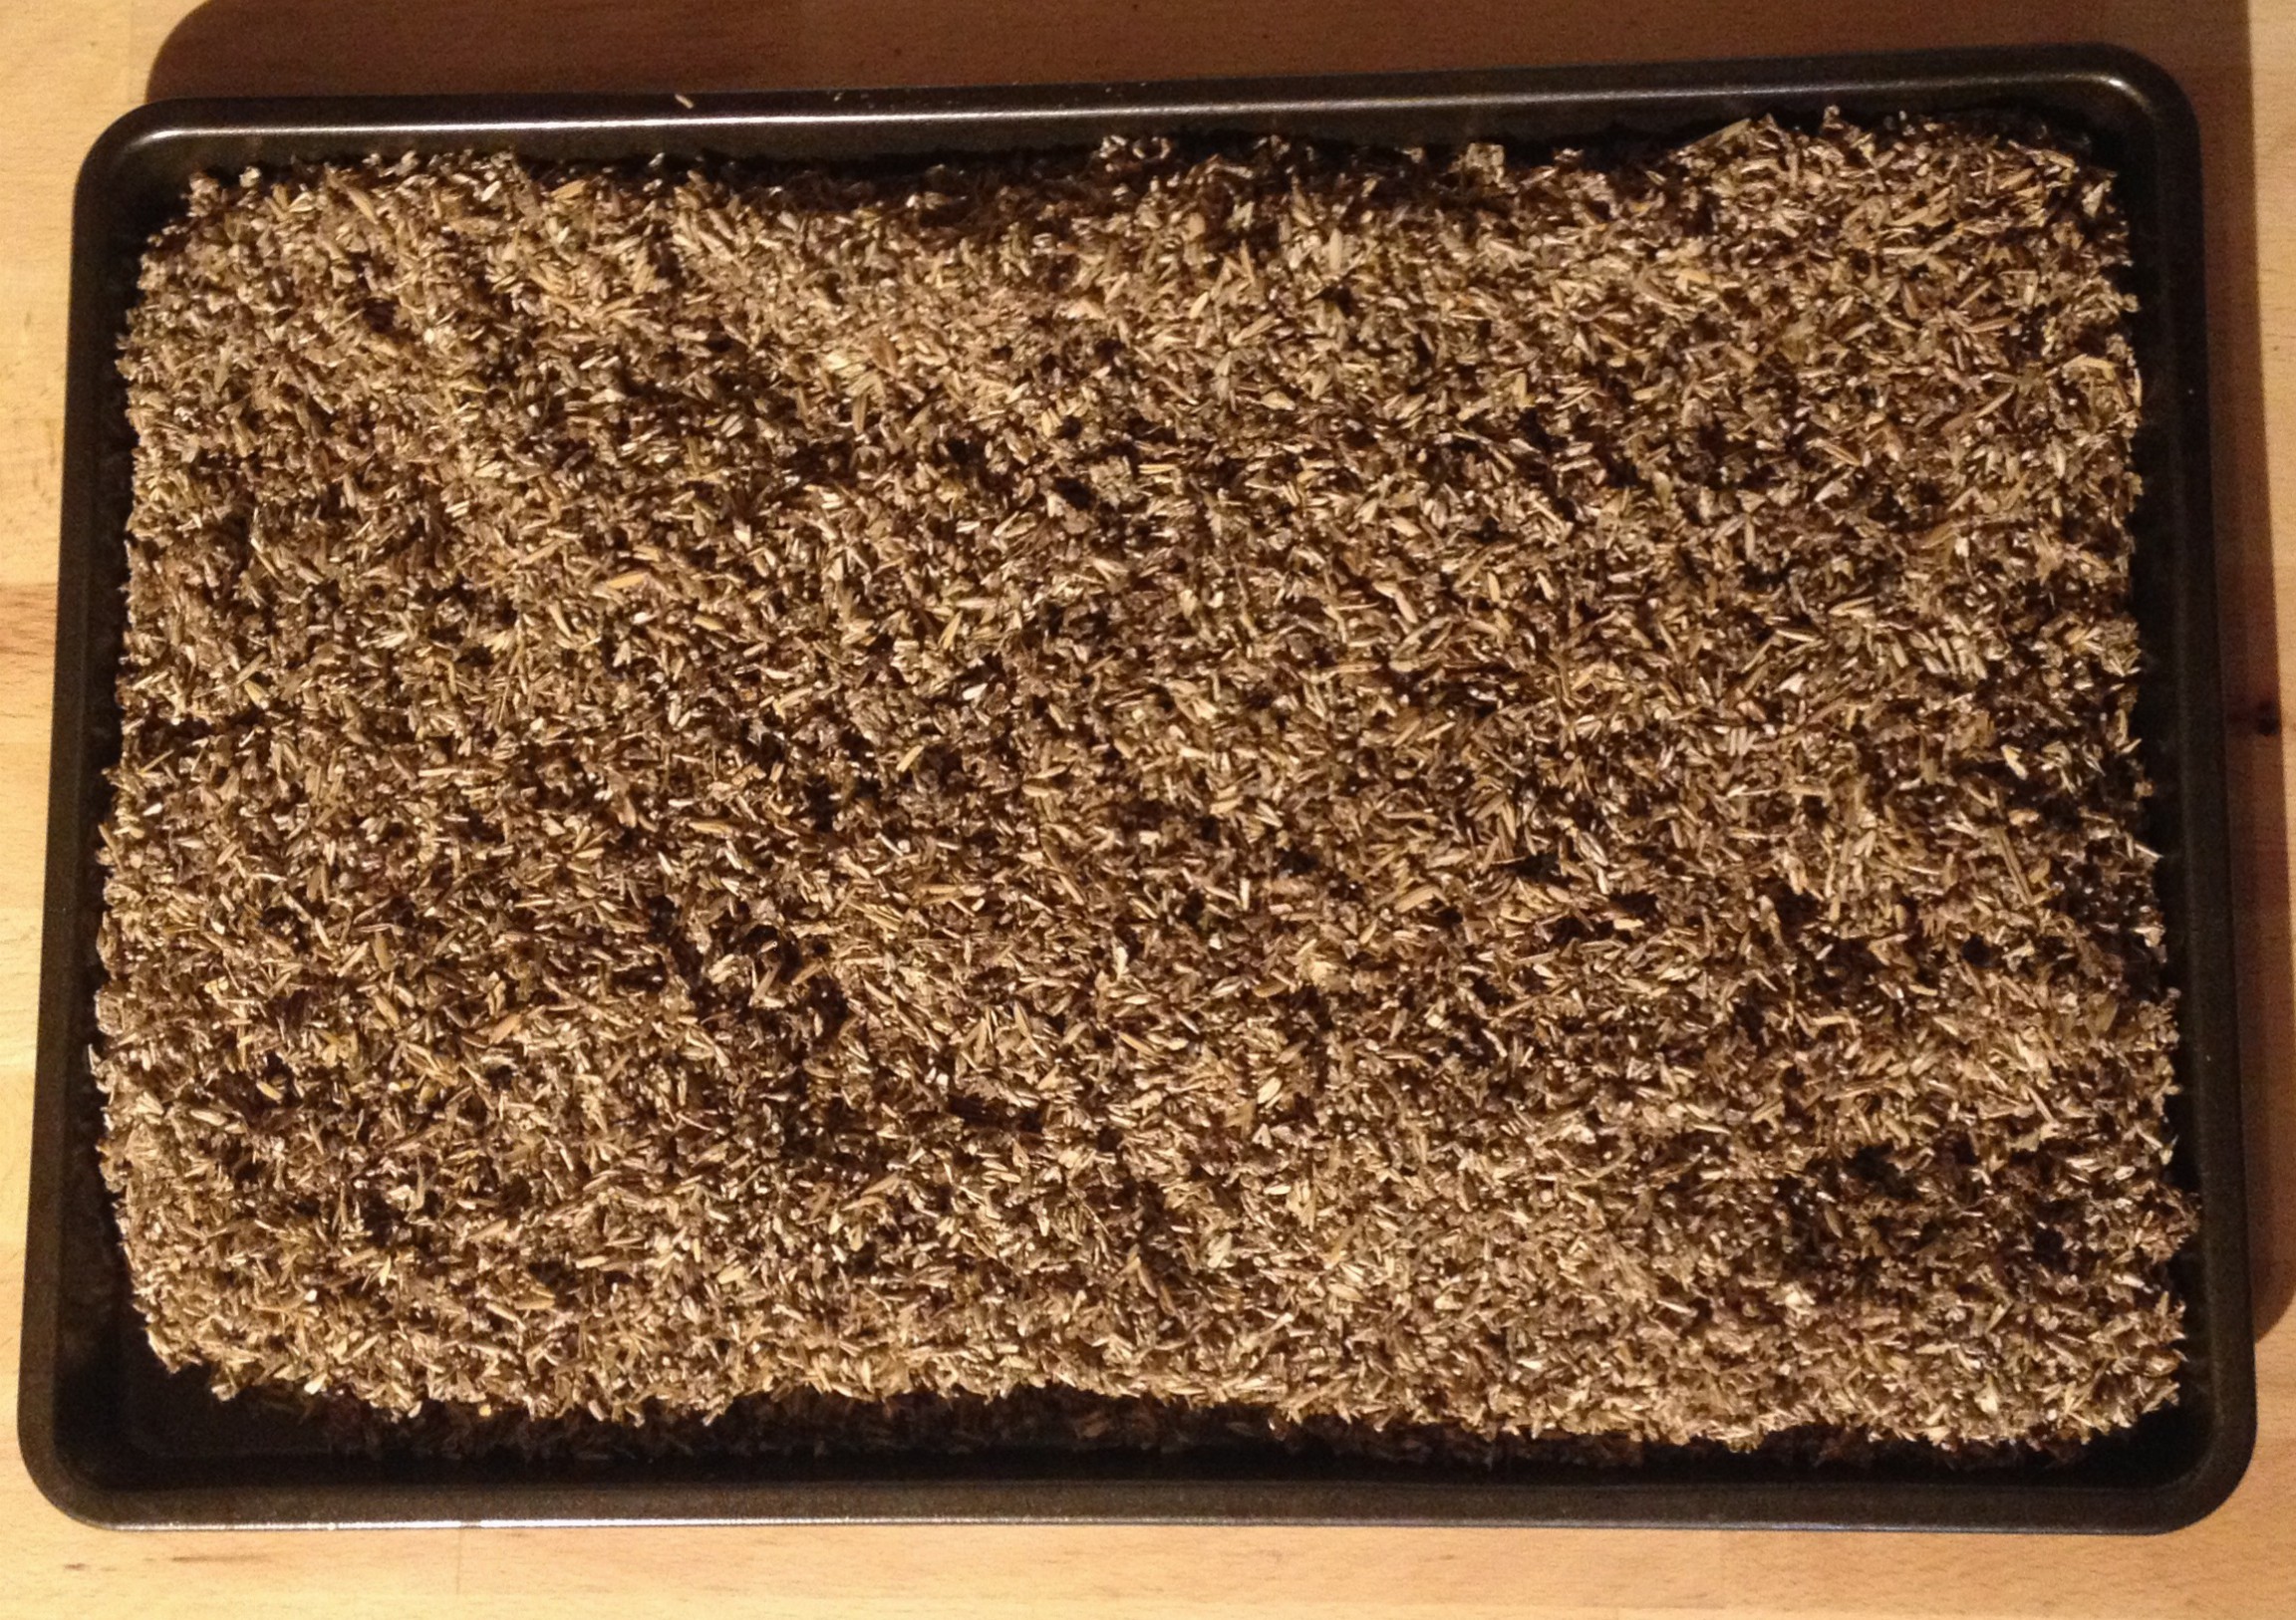
Step 2: Dry the grain completely using an oven
This is the precarious step in this process. I’ve accidentally burned a few batches of grain and had to throw them out as a result. There are two basic rules for this step…dry them at as low a temperature as possible and turn the grains frequently.
Spread the grains out on cookie sheets with a lip such that the depth of the grain is uniform and not deeper than about a centimeter or a little less than half an inch. The deeper the grains, the longer they will have to be in the oven. The lowest my oven can be set to is 170° F. That is too high for making grain, you really want to be around 150° F or a little lower. Since my oven won’t go that low, I come by every hour or so and turn the grain. This forces me to open the door to the oven which lets the humidity and heat out. Turning the grain is imperative. If you do not turn the grain frequently, the grain on the cookie sheet Based on the temperature, you should be turning the grain every 60 – 90 minutes. This step takes a while. The shortest I’ve ever done was 3 – 4 hours….if it is taking longer than that, next time spend more time at “Step 1”, a little more time and care at “Step 1” can save you hours here.
Step 3: Grind dry grain into flour
I’m sure there are a lot of ways to do this…I use a coffee grinder. The only laborious thing about using a coffee grinder is that I can only do about half a cup at a time. I grind for 30 seconds or until the consistency is uniform, then I do it again…and again…until it is done. I would like to eventually get a bigger mill or grinder but for the time being this is adequate if not annoying.

The finished product….the grain I used to make this flour was from a stout (from a post that is yet to be published) and a rye beer. The color of the flour is dingy brown…looks like a dark whole wheat flour. The consistency is nice, almost as fine as whole grain flour from a store. This attempt was a success and I’m looking forward to using it in some up coming bread recipes.
Upcoming posts using spent grain flour
As I eluded in my “Introduction to Food Fermentation” post, I am going to make some sourdough breads using either dregs from lambic bottles or spontaneous fermented sour dough breads. Up to half of the flour used in those bread experiments will be from spent grains. I also like to cook Thanksgiving meals entirely from scratch and last year I utilized a lot of spent grain in that meal as well. There likely will not be many posts on here about spent grain recipes though, there are better blogs for that. This was an odd post for this blog but moving into food fermentation I didn’t want to introduce an ingredient that I hadn’t discussed before. This is the foundation for a few upcoming bread recipes. And if I’m going to bother to make bread…might as well start researching how to make kvass. After all, why not keep recycling until I have nothing left.
If anyone has advice about making bread, flour, or kvass…let me know. I’m open to suggestions and criticisms on these topics I know next to nothing about.
“Bread and water – these are the things nature requires. For such things no man is too poor, and whosoever can limit his desire to them alone can rival Jupiter for happiness.” — Seneca

Step two in your process reminds me of the trouble the author of The Perfect Pint went through when he was trying to malt his own grain. If I remember correctly, he ended up shoving a hair drier through a partially open oven door, which served the dual purpose of increasing air circulation and heating lower than an oven will go. Also, I don’t know if such a thing exists, but it seems like a mesh pan would work better. Maybe if you got some aluminum window screen and laid it over the oven rack or mounted it in a wooden frame…
– Dennis, Life Fermented Blog
Might be a worthwhile project to build.
Shouldn’t essentially all of your starch and protein be removed by mashing? Is this more than fiber-flour?
Yeah, most of that is gone so this is “high fiber” but about 20-30% of is the residual sugar is still present so it isn’t completely worthless. I never use it as 100% the flour in a bread, at most 50%…just a nice way to keep using materials until it is all gone.